







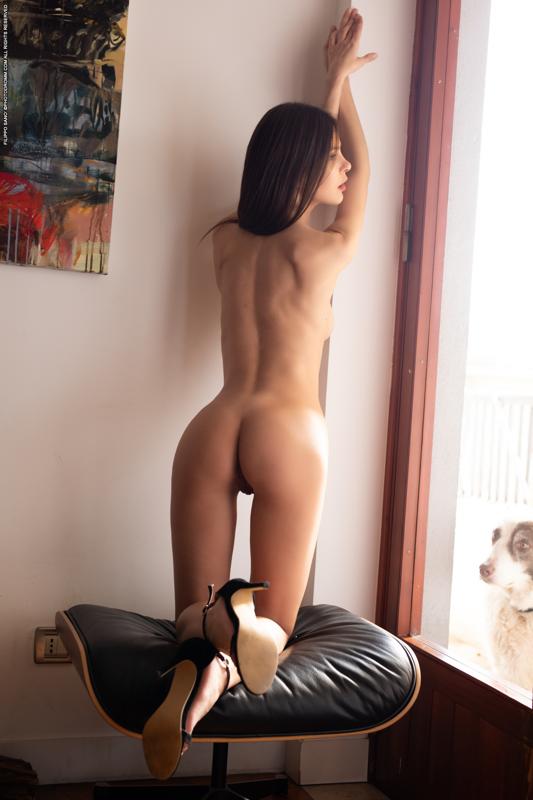



Zelda B - Long View - Photo 1 by PhotodrommZelda B - Long View - Photo 2 by PhotodrommZelda B - Long View - Photo 3 by PhotodrommZelda B - Long View - Photo 4 by PhotodrommZelda B - Long View - Photo 5 by PhotodrommZelda B - Long View - Photo 6 by PhotodrommZelda B - Long View - Photo 7 by PhotodrommZelda B - Long View - Photo 8 by PhotodrommZelda B - Long View - Photo 9 by PhotodrommZelda B - Long View - Photo 10 by PhotodrommZelda B - Long View - Photo 11 by PhotodrommZelda B - Long View - Photo 12 by Photodromm

Long View

Zelda B

Photodromm

47 curated photos

Zelda B - Long View - Photo 1 by Photodromm

Zelda_B_Photodromm_Long_View_001.jpg

472.87 KB

Zelda B - Long View - Photo 2 by Photodromm

Zelda_B_Photodromm_Long_View_002.jpg

2.94 MB

Zelda B - Long View - Photo 3 by Photodromm

Zelda_B_Photodromm_Long_View_003.jpg

3.06 MB

Zelda B - Long View - Photo 4 by Photodromm

Zelda_B_Photodromm_Long_View_004.jpg

3.03 MB

Zelda B - Long View - Photo 5 by Photodromm

Zelda_B_Photodromm_Long_View_005.jpg

3.03 MB

Zelda B - Long View - Photo 6 by Photodromm

Zelda_B_Photodromm_Long_View_006.jpg

2.88 MB

Zelda B - Long View - Photo 7 by Photodromm

Zelda_B_Photodromm_Long_View_007.jpg

2.89 MB

Zelda B - Long View - Photo 8 by Photodromm

Zelda_B_Photodromm_Long_View_008.jpg

3 MB

Zelda B - Long View - Photo 9 by Photodromm

Zelda_B_Photodromm_Long_View_009.jpg

2.85 MB

Zelda B - Long View - Photo 10 by Photodromm

Zelda_B_Photodromm_Long_View_010.jpg

2.43 MB

Zelda B - Long View - Photo 11 by Photodromm

Zelda_B_Photodromm_Long_View_011.jpg

2.59 MB

Zelda B - Long View - Photo 12 by Photodromm

Zelda_B_Photodromm_Long_View_012.jpg

2.64 MB

Zelda B - Long View - Photo 13 by Photodromm

Zelda_B_Photodromm_Long_View_013.jpg

2.9 MB

Zelda B - Long View - Photo 14 by Photodromm

Zelda_B_Photodromm_Long_View_014.jpg

2.45 MB

Zelda B - Long View - Photo 15 by Photodromm

Zelda_B_Photodromm_Long_View_015.jpg

2.68 MB

Zelda B - Long View - Photo 16 by Photodromm

Zelda_B_Photodromm_Long_View_016.jpg

2.72 MB

Zelda B - Long View - Photo 17 by Photodromm

Zelda_B_Photodromm_Long_View_017.jpg

2.29 MB

Zelda B - Long View - Photo 18 by Photodromm

Zelda_B_Photodromm_Long_View_018.jpg

2.31 MB

Zelda B - Long View - Photo 19 by Photodromm

Zelda_B_Photodromm_Long_View_019.jpg

2.34 MB

Zelda B - Long View - Photo 20 by Photodromm

Zelda_B_Photodromm_Long_View_020.jpg

2.42 MB

Zelda B - Long View - Photo 21 by Photodromm

Zelda_B_Photodromm_Long_View_021.jpg

2.67 MB

Zelda B - Long View - Photo 22 by Photodromm

Zelda_B_Photodromm_Long_View_022.jpg

2.67 MB

Zelda B - Long View - Photo 23 by Photodromm

Zelda_B_Photodromm_Long_View_023.jpg

2.69 MB

Zelda B - Long View - Photo 24 by Photodromm

Zelda_B_Photodromm_Long_View_024.jpg

2.78 MB

Zelda B - Long View - Photo 25 by Photodromm

Zelda_B_Photodromm_Long_View_025.jpg

2.75 MB

Zelda B - Long View - Photo 26 by Photodromm

Zelda_B_Photodromm_Long_View_026.jpg

2.65 MB

Zelda B - Long View - Photo 27 by Photodromm

Zelda_B_Photodromm_Long_View_027.jpg

2.59 MB

Zelda B - Long View - Photo 28 by Photodromm

Zelda_B_Photodromm_Long_View_028.jpg

2.51 MB

Zelda B - Long View - Photo 29 by Photodromm

Zelda_B_Photodromm_Long_View_029.jpg

2.56 MB

Zelda B - Long View - Photo 30 by Photodromm

Zelda_B_Photodromm_Long_View_030.jpg

2.67 MB

Zelda B - Long View - Photo 31 by Photodromm

Zelda_B_Photodromm_Long_View_031.jpg

2.63 MB

Zelda B - Long View - Photo 32 by Photodromm

Zelda_B_Photodromm_Long_View_032.jpg

2.72 MB

Zelda B - Long View - Photo 33 by Photodromm

Zelda_B_Photodromm_Long_View_033.jpg

2.42 MB

Zelda B - Long View - Photo 34 by Photodromm

Zelda_B_Photodromm_Long_View_034.jpg

2.79 MB

Zelda B - Long View - Photo 35 by Photodromm

Zelda_B_Photodromm_Long_View_035.jpg

2.85 MB

Zelda B - Long View - Photo 36 by Photodromm

Zelda_B_Photodromm_Long_View_036.jpg

2.94 MB

Zelda B - Long View - Photo 37 by Photodromm

Zelda_B_Photodromm_Long_View_037.jpg

2.84 MB

Zelda B - Long View - Photo 38 by Photodromm

Zelda_B_Photodromm_Long_View_038.jpg

2.79 MB

Zelda B - Long View - Photo 39 by Photodromm

Zelda_B_Photodromm_Long_View_039.jpg

2.92 MB

Zelda B - Long View - Photo 40 by Photodromm

Zelda_B_Photodromm_Long_View_040.jpg

2.25 MB

Zelda B - Long View - Photo 41 by Photodromm

Zelda_B_Photodromm_Long_View_041.jpg

1.9 MB

Zelda B - Long View - Photo 42 by Photodromm

Zelda_B_Photodromm_Long_View_042.jpg

2.4 MB

Zelda B - Long View - Photo 43 by Photodromm

Zelda_B_Photodromm_Long_View_043.jpg

2.6 MB

Zelda B - Long View - Photo 44 by Photodromm

Zelda_B_Photodromm_Long_View_044.jpg

2.62 MB

Zelda B - Long View - Photo 45 by Photodromm

Zelda_B_Photodromm_Long_View_045.jpg

2.68 MB

Zelda B - Long View - Photo 46 by Photodromm

Zelda_B_Photodromm_Long_View_046.jpg

2.61 MB

Zelda B - Long View - Photo 47 by Photodromm

Zelda_B_Photodromm_Long_View_047.jpg

2.58 MB